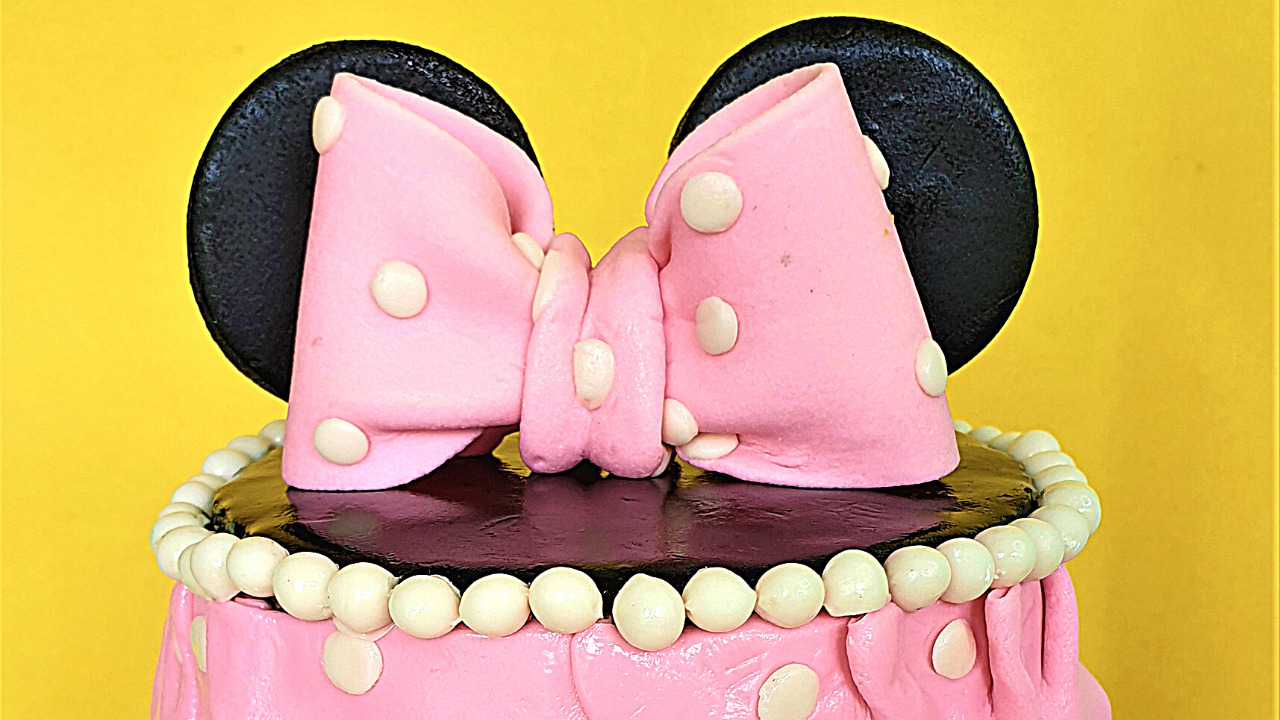
The cake comes in many sizes, tastes, textures, and designs. One of the most used in decorating a cake is fondant. Fondant is technically icing but has a more different texture than icing, this is why it’s unique!
Fondant is used in sculpting and decorating cakes, cupcakes, and other pastries. It is more flexible and the result is on the other level!
Steps:
Cake Batter:
- Pre heat oven to 325 degrees Fahrenheit.
- Grease three 5 inches round pan lined with parchment paper at the bottom.
- Combine the hot water to the cocoa powder and stir until dissolved.
- Mix all the wet ingredients; the milk, vegetable oil, eggs and vanilla extract. Set aside.
- Combine the dry ingredients; all-purpose flour, baking powder, baking soda, salt and sugar in a bowl. Add half of the milk mixture and mix for about 3-4 minutes until fluffy.
- Add the rest of the milk mixture to the cocoa mixture and stir. When fully combined, add it to the batter and mix just until incorporated.
- Separate in to three equal parts then bake for 30 to 40 minutes.
- When fully baked, immediately release from pan and cool in a cooling rack.
- Trim, frost and design your cakes to your preference.
Frosting:
- Beat the cold non-dairy cream until stiff peak forms. At this point, you can add in flavors.
- Spread into the layers of the cake and use for crumb coating then chill. Finished off with a thick layer of frosting in order to hold the fondant during assembling.
Fondant Notes:
*For making the ribbon and ears of Minnie Mouse, make sure to do it ahead of time and let them dry for 48 hours to hold their form.
Minnie Mouse Fondant Cake Recipe
Ingredients
- 90 g Cocoa Powder
- 180 g Hot Water
- 180 g Milk
- 90 ml Vegetable Oil
- 300 g Granulated Sugar
- 1 pc Eggs
- 6 g Vanilla Extract
- 225 g All Purpose Flour
- 6 g Baking Powder
- 5 g Baking Soda
- 2 g Salt
- 500 g Fondant
- 1 tsp Food Color
- 250 g Non-dairy Cream
Instructions
Cake Batter:
- Pre heat oven to 325 degrees Fahrenheit.
- Grease three 5 inches round pan lined with parchment paper at the bottom.
- Combine the hot water to the cocoa powder and stir until dissolved.
- Mix all the wet ingredients; the milk, vegetable oil, eggs and vanilla extract. Set aside.
- Combine the dry ingredients; all-purpose flour, baking powder, baking soda, salt and sugar in a bowl. Add half of the milk mixture and mix for about 3-4 minutes until fluffy.
- Add the rest of the milk mixture to the cocoa mixture and stir. When fully combined, add it to the batter and mix just until incorporated.
- Separate in to three equal parts then bake for 30 to 40 minutes.
- When fully baked, immediately release from pan and cool in a cooling rack.
- Trim, frost and design your cakes to your preference.
Frosting:
- Beat the cold non-dairy cream until stiff peak forms. At this point, you can add in flavors.
- Spread into the layers of the cake and use for crumb coating then chill. Finished off with a thick layer of frosting in order to hold the fondant during assembling.
Fondant is a play dough-like sugar paste that can be rolled out and draped over a simple or sculpted cake. It is usually kneaded until very silky and pliable and can be used to create a smooth seamless finish on cakes in any color. – TheSpruceEats
Is Fondant Edible? Fondant is an edible icing made of 100% edible ingredients (which makes us question who uses inedible icing). Although the icing is edible, you might see people take the fondant off cakes when they are eating cake because people tend to not like the texture or flavor of fondant. – BobsRedMill
In hot humid weather, fondant tends to melt with condensation. So, chill the cake well before you cover it with fondant. … Leave it in a cool place until the cake’s internal temperature has settled. The fondant will dry in a few hours and you should have a dry surface to work with again. – Veenaazmanov

